AI Image Classification for PEZ Collectors | Vertex AI & MediaPipe on Android
/I've always had a soft spot for PEZ dispensers and have been collecting them for over 30 years. These quirky little collectibles come in an incredible variety of shapes and characters. But there's more to PEZ than just fun; some dispensers can be quite valuable depending on their age and variation. To address the challenge of identification, I harnessed the power of AI to create an image classification model that could help identify these subtle differences.
Use Case: Identifying PEZ dispensers
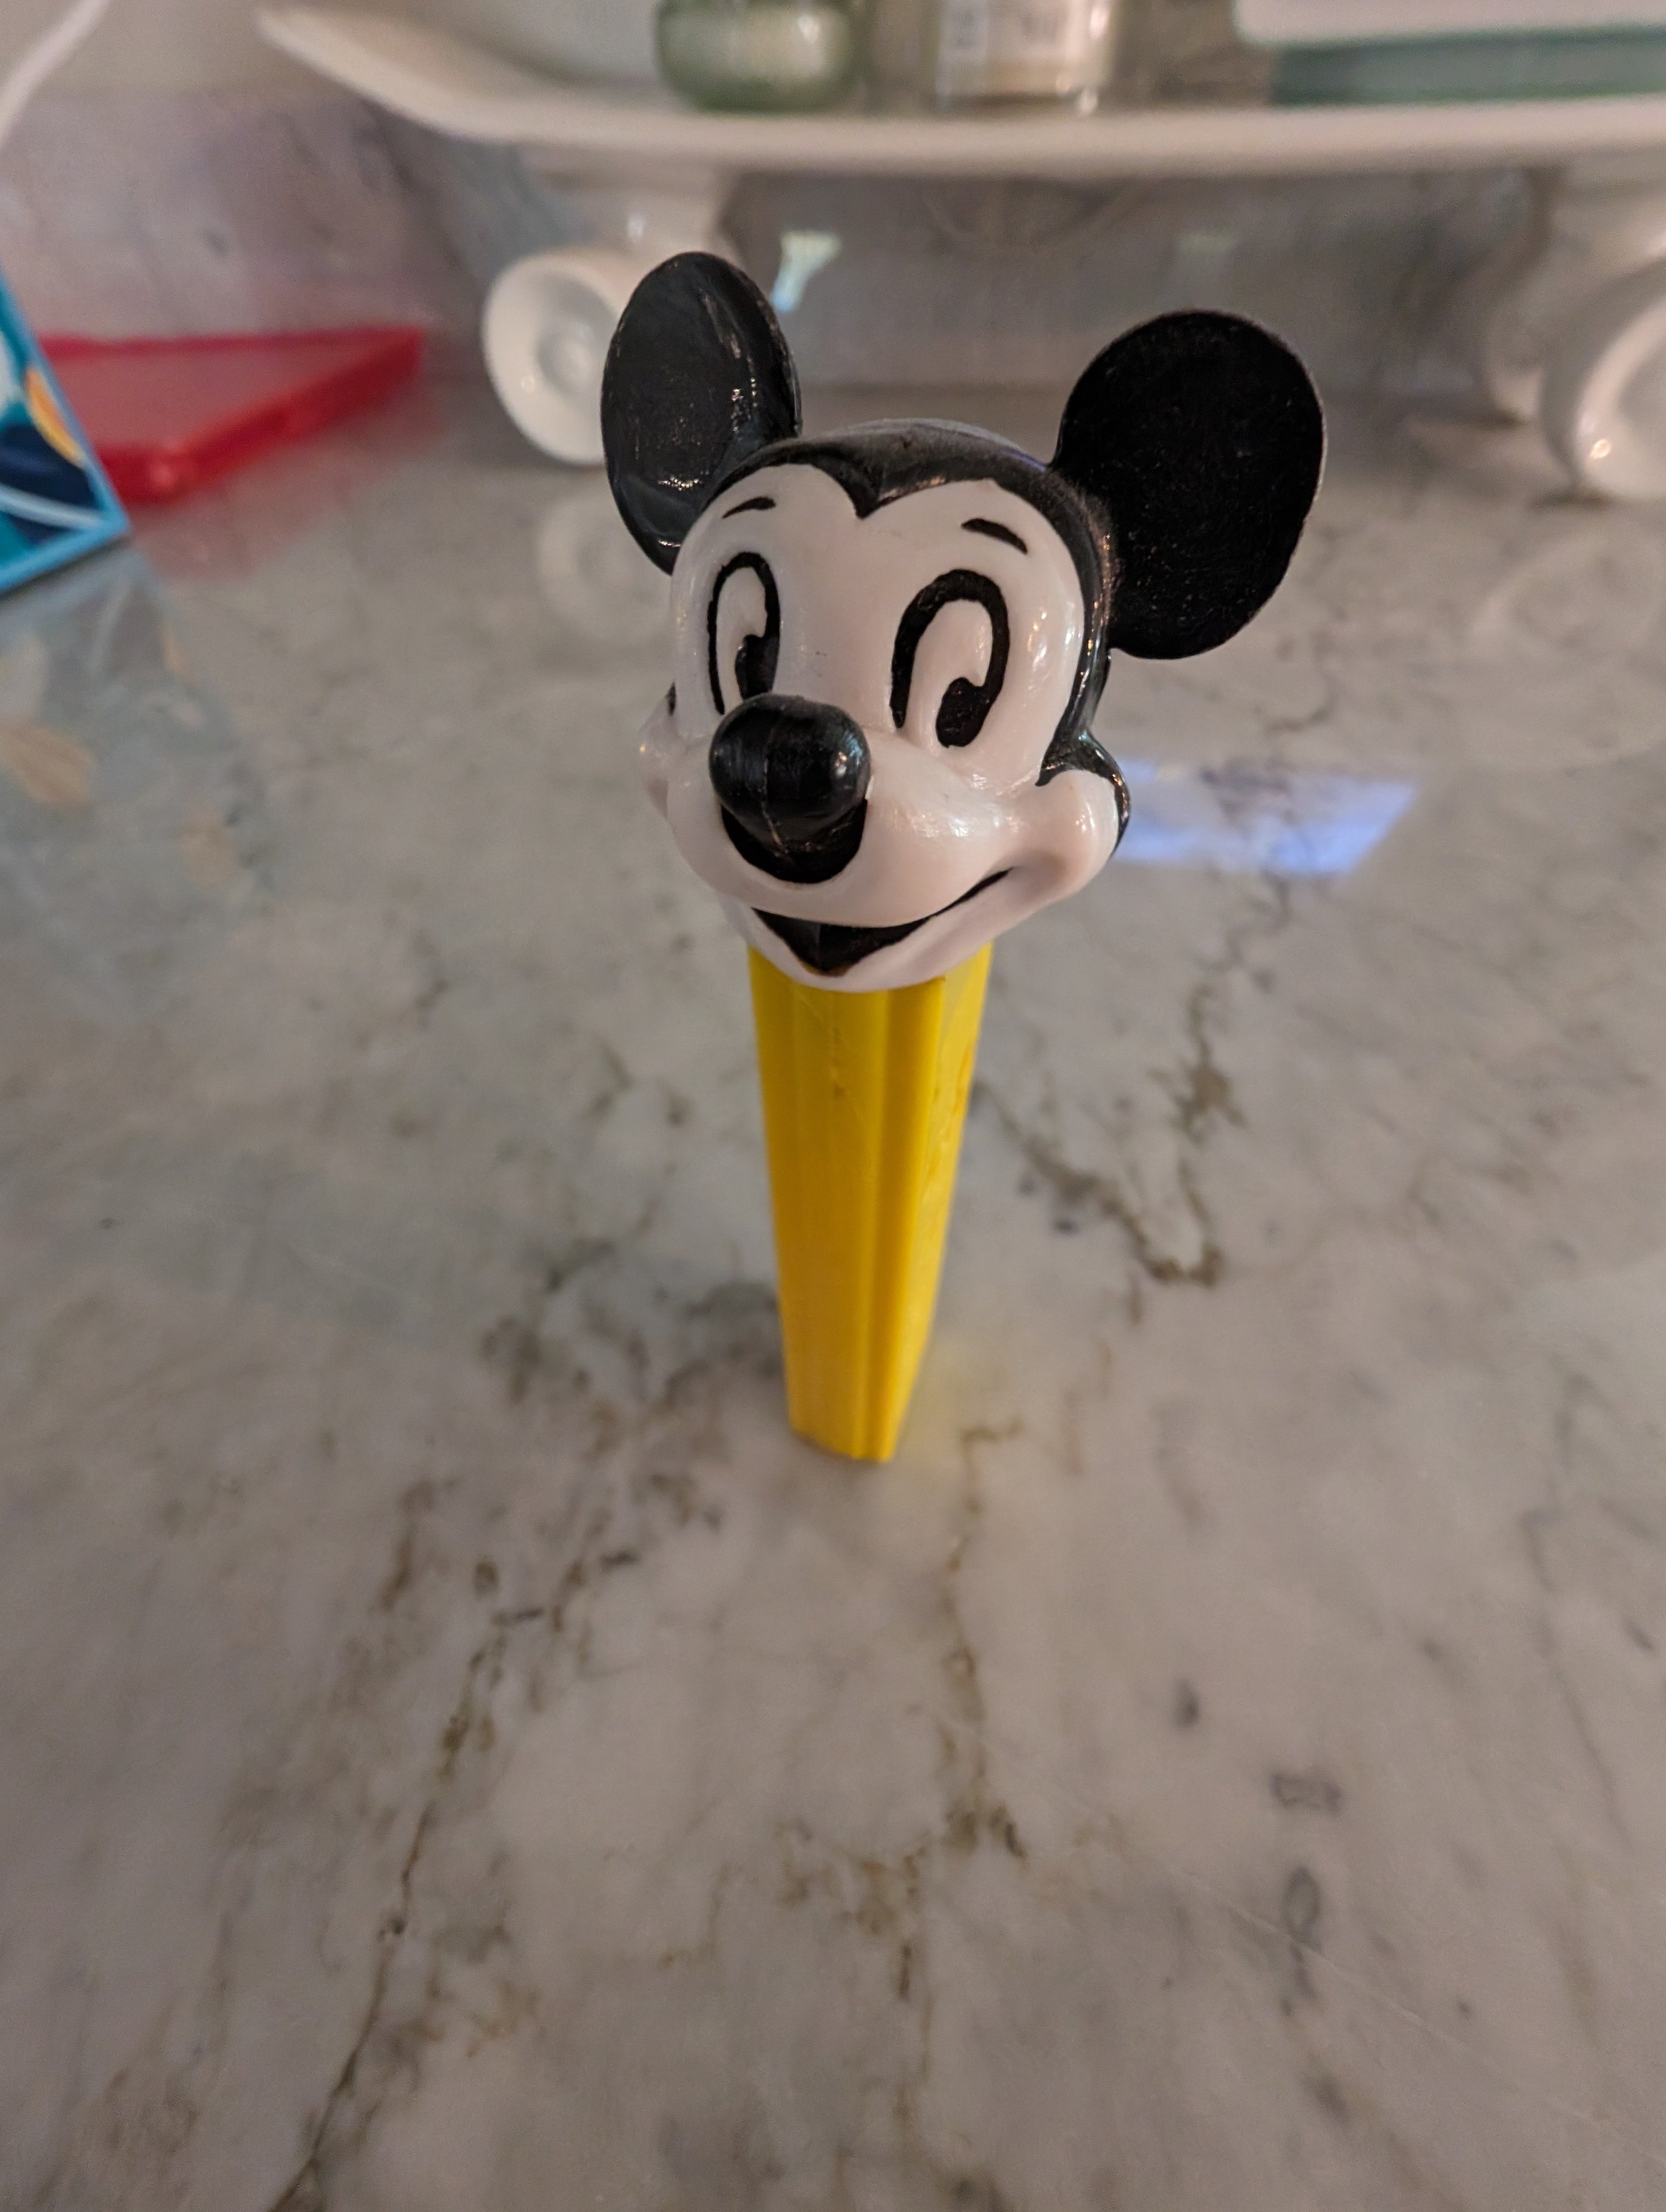
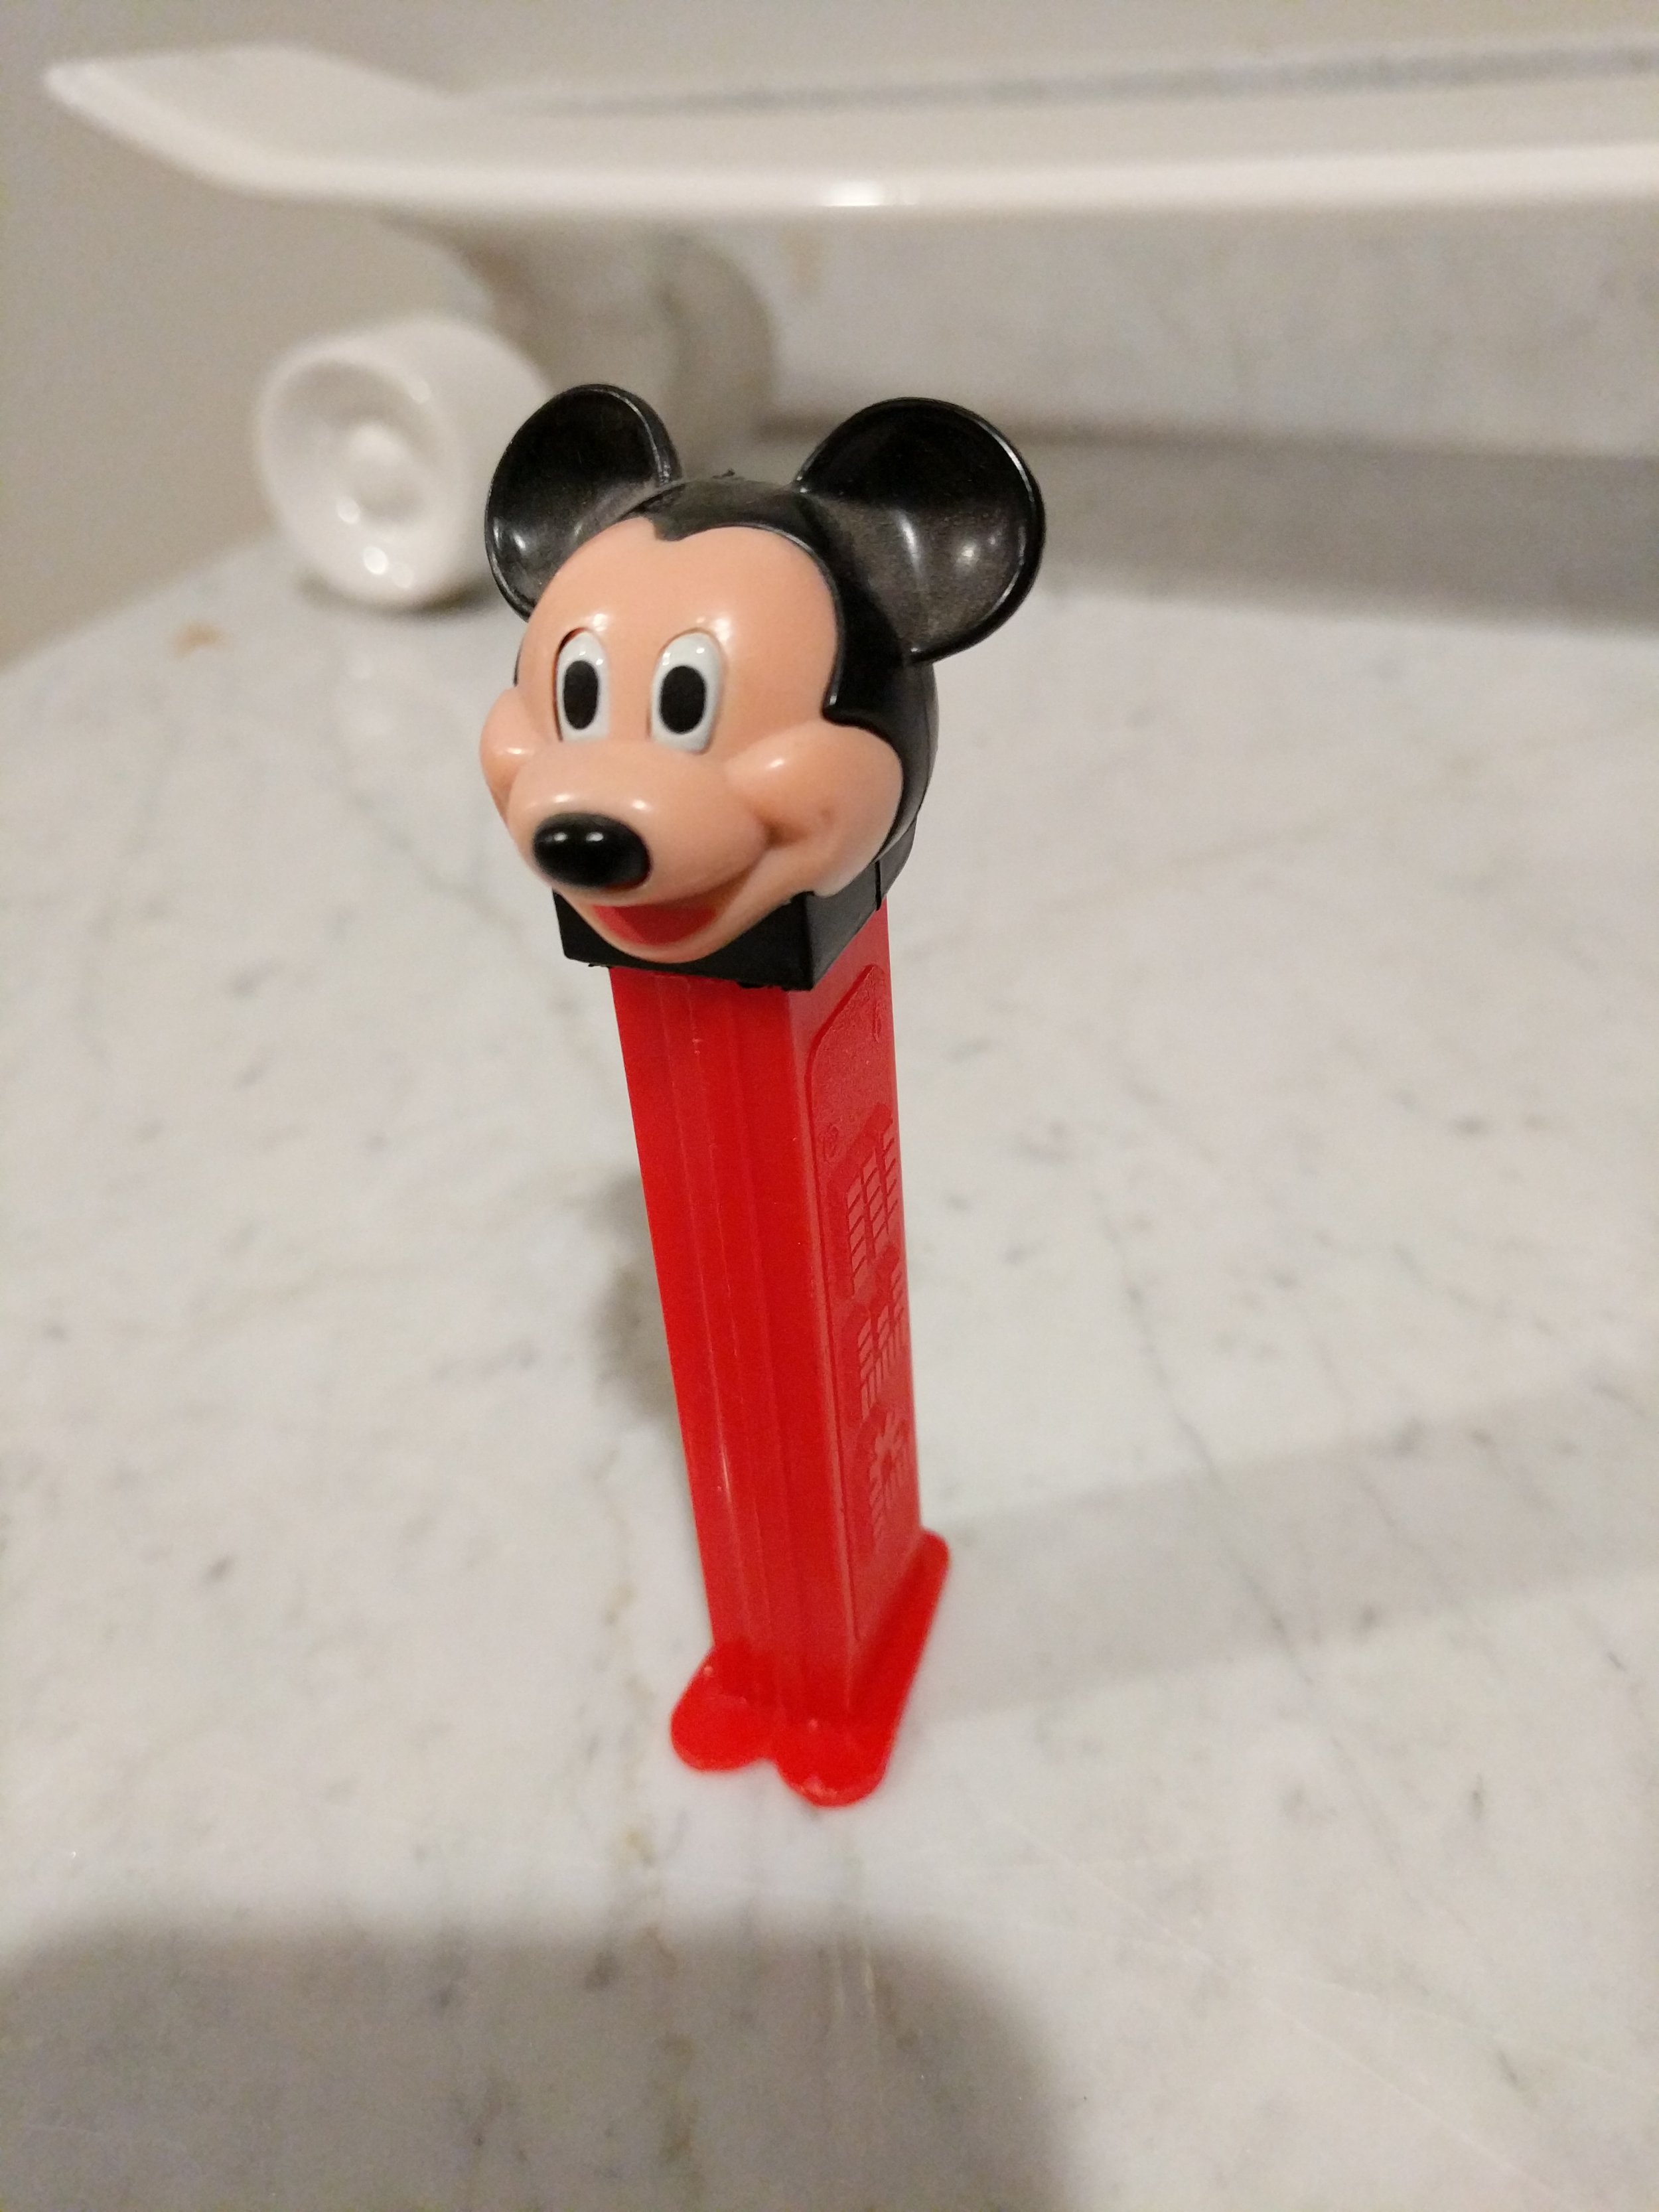
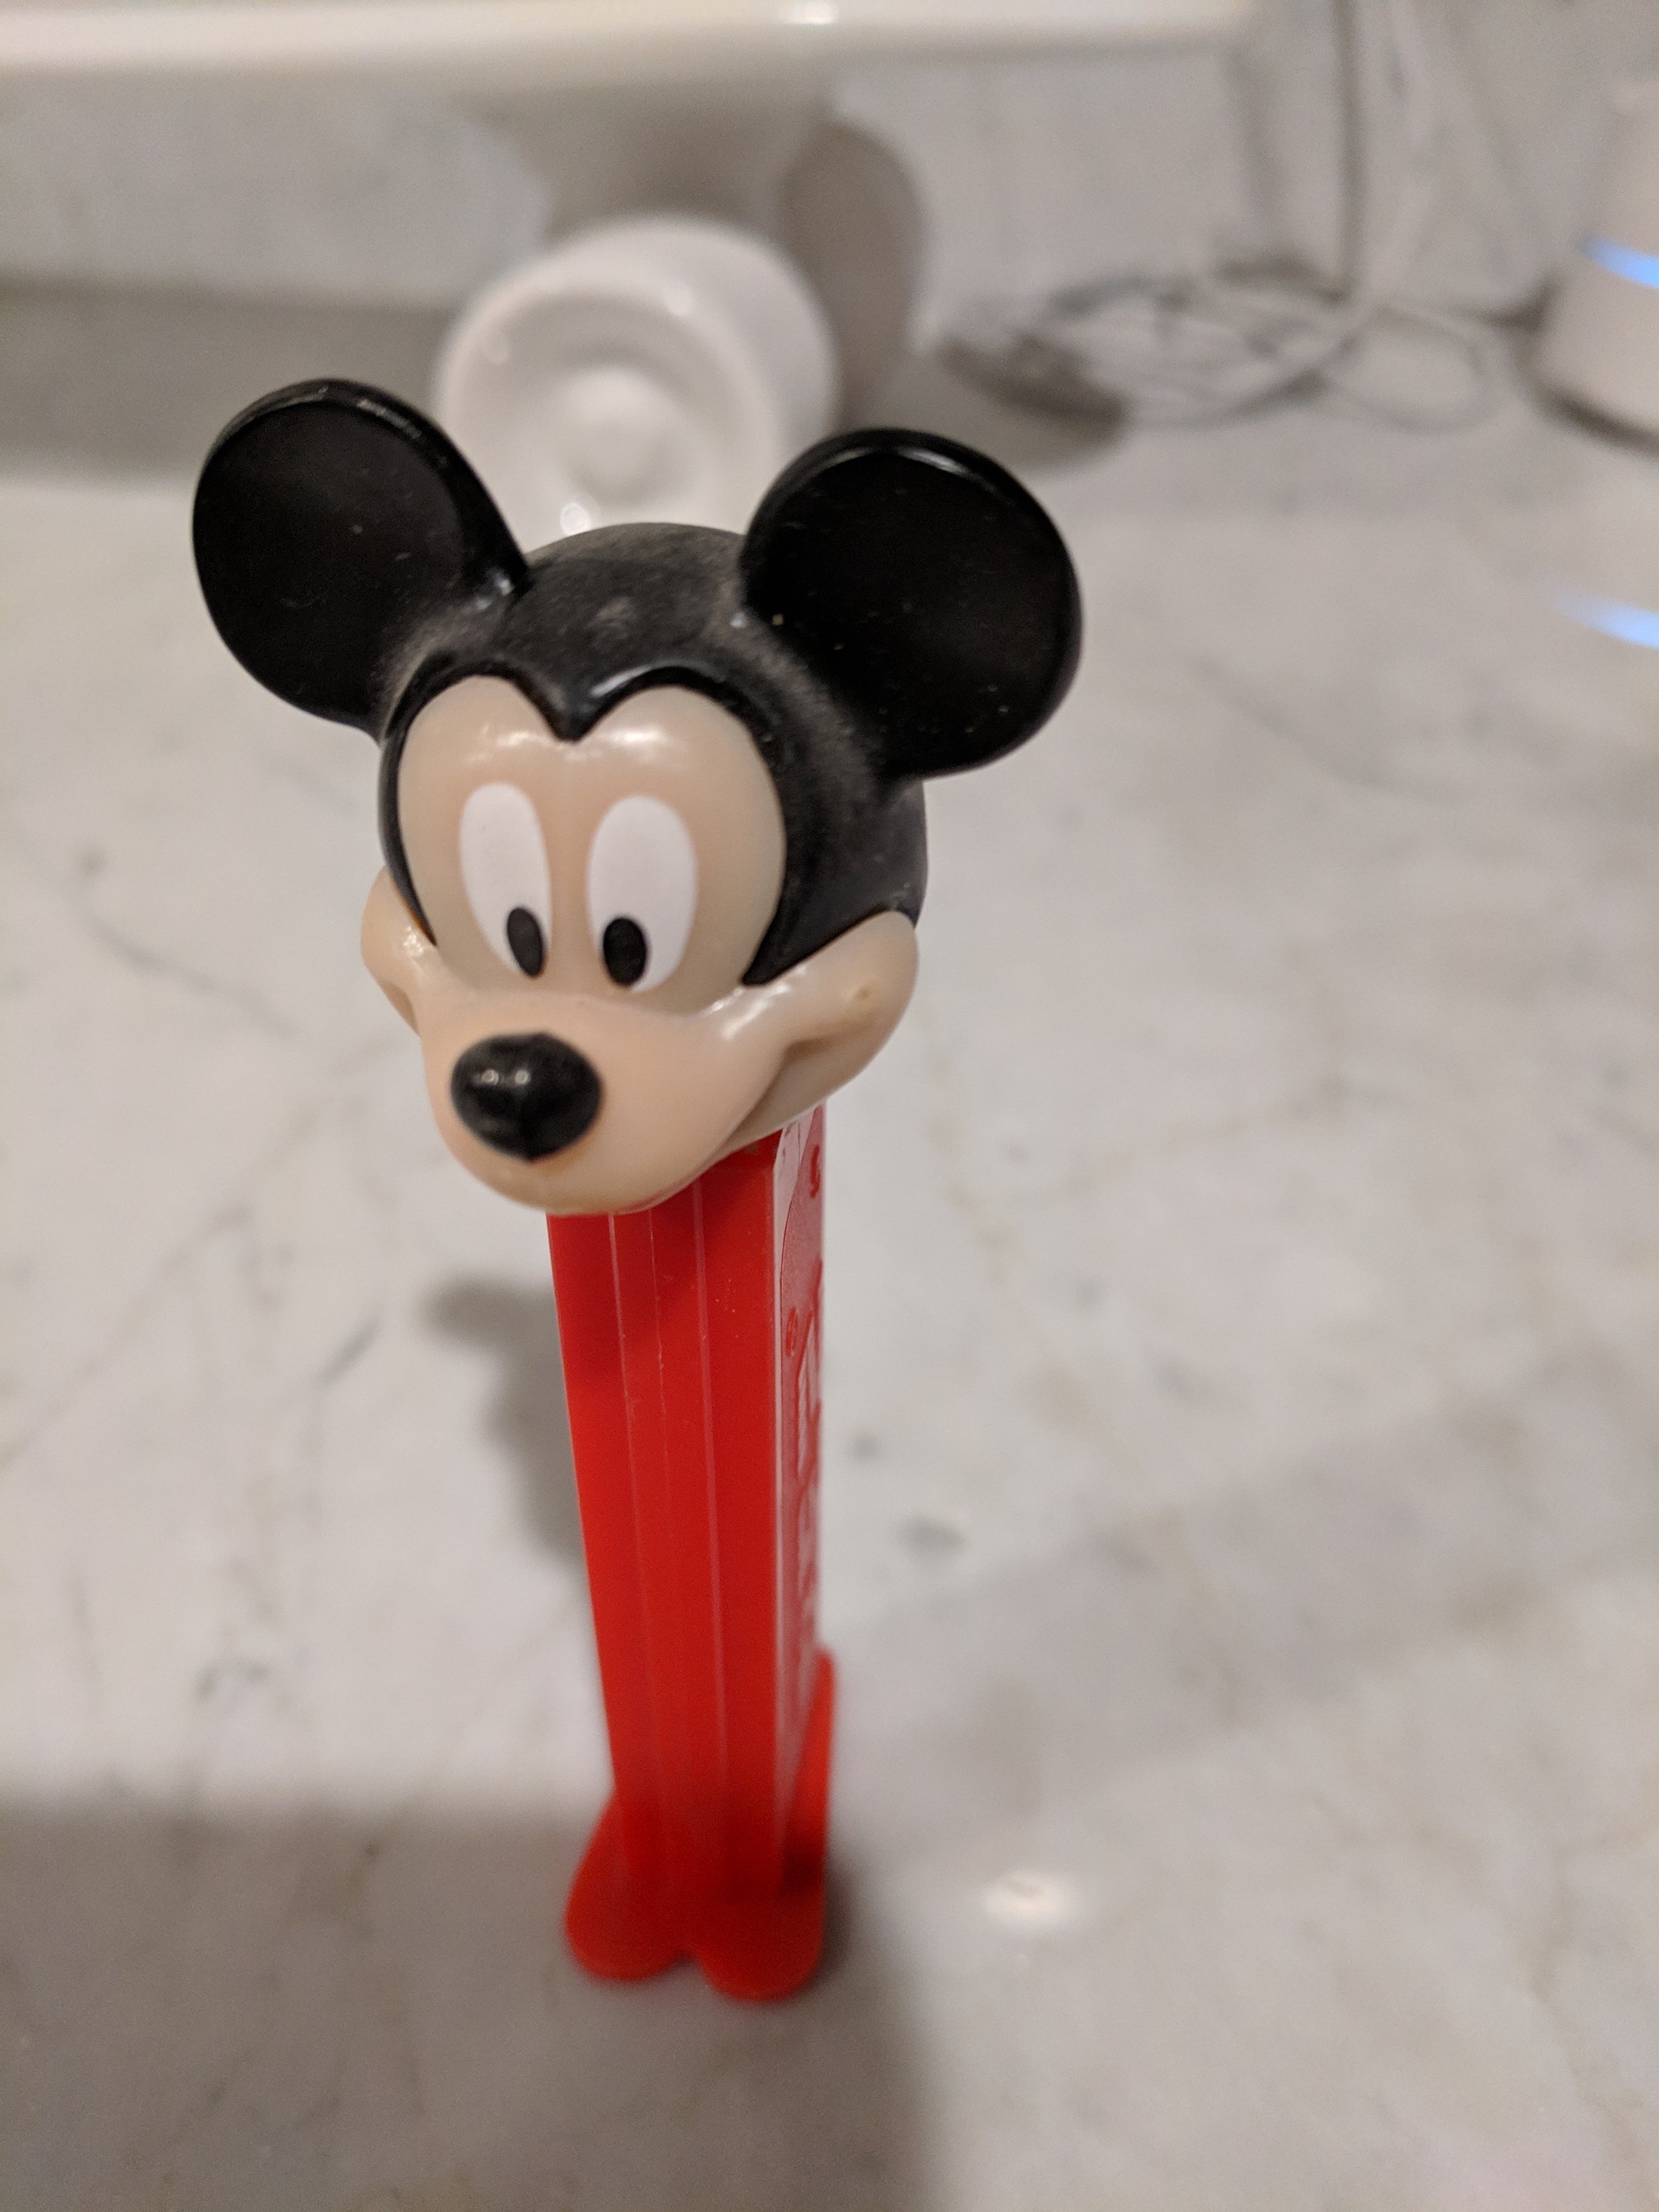
Identifying the precise type of PEZ dispenser isn't always easy. Take Mickey Mouse dispensers, for example. While even a novice collector can broadly identify it as Mickey, subtle differences in the face or eyes could separate a common version from a prized rarity. A $1 Mickey and a $150 Mickey can look awfully similar.
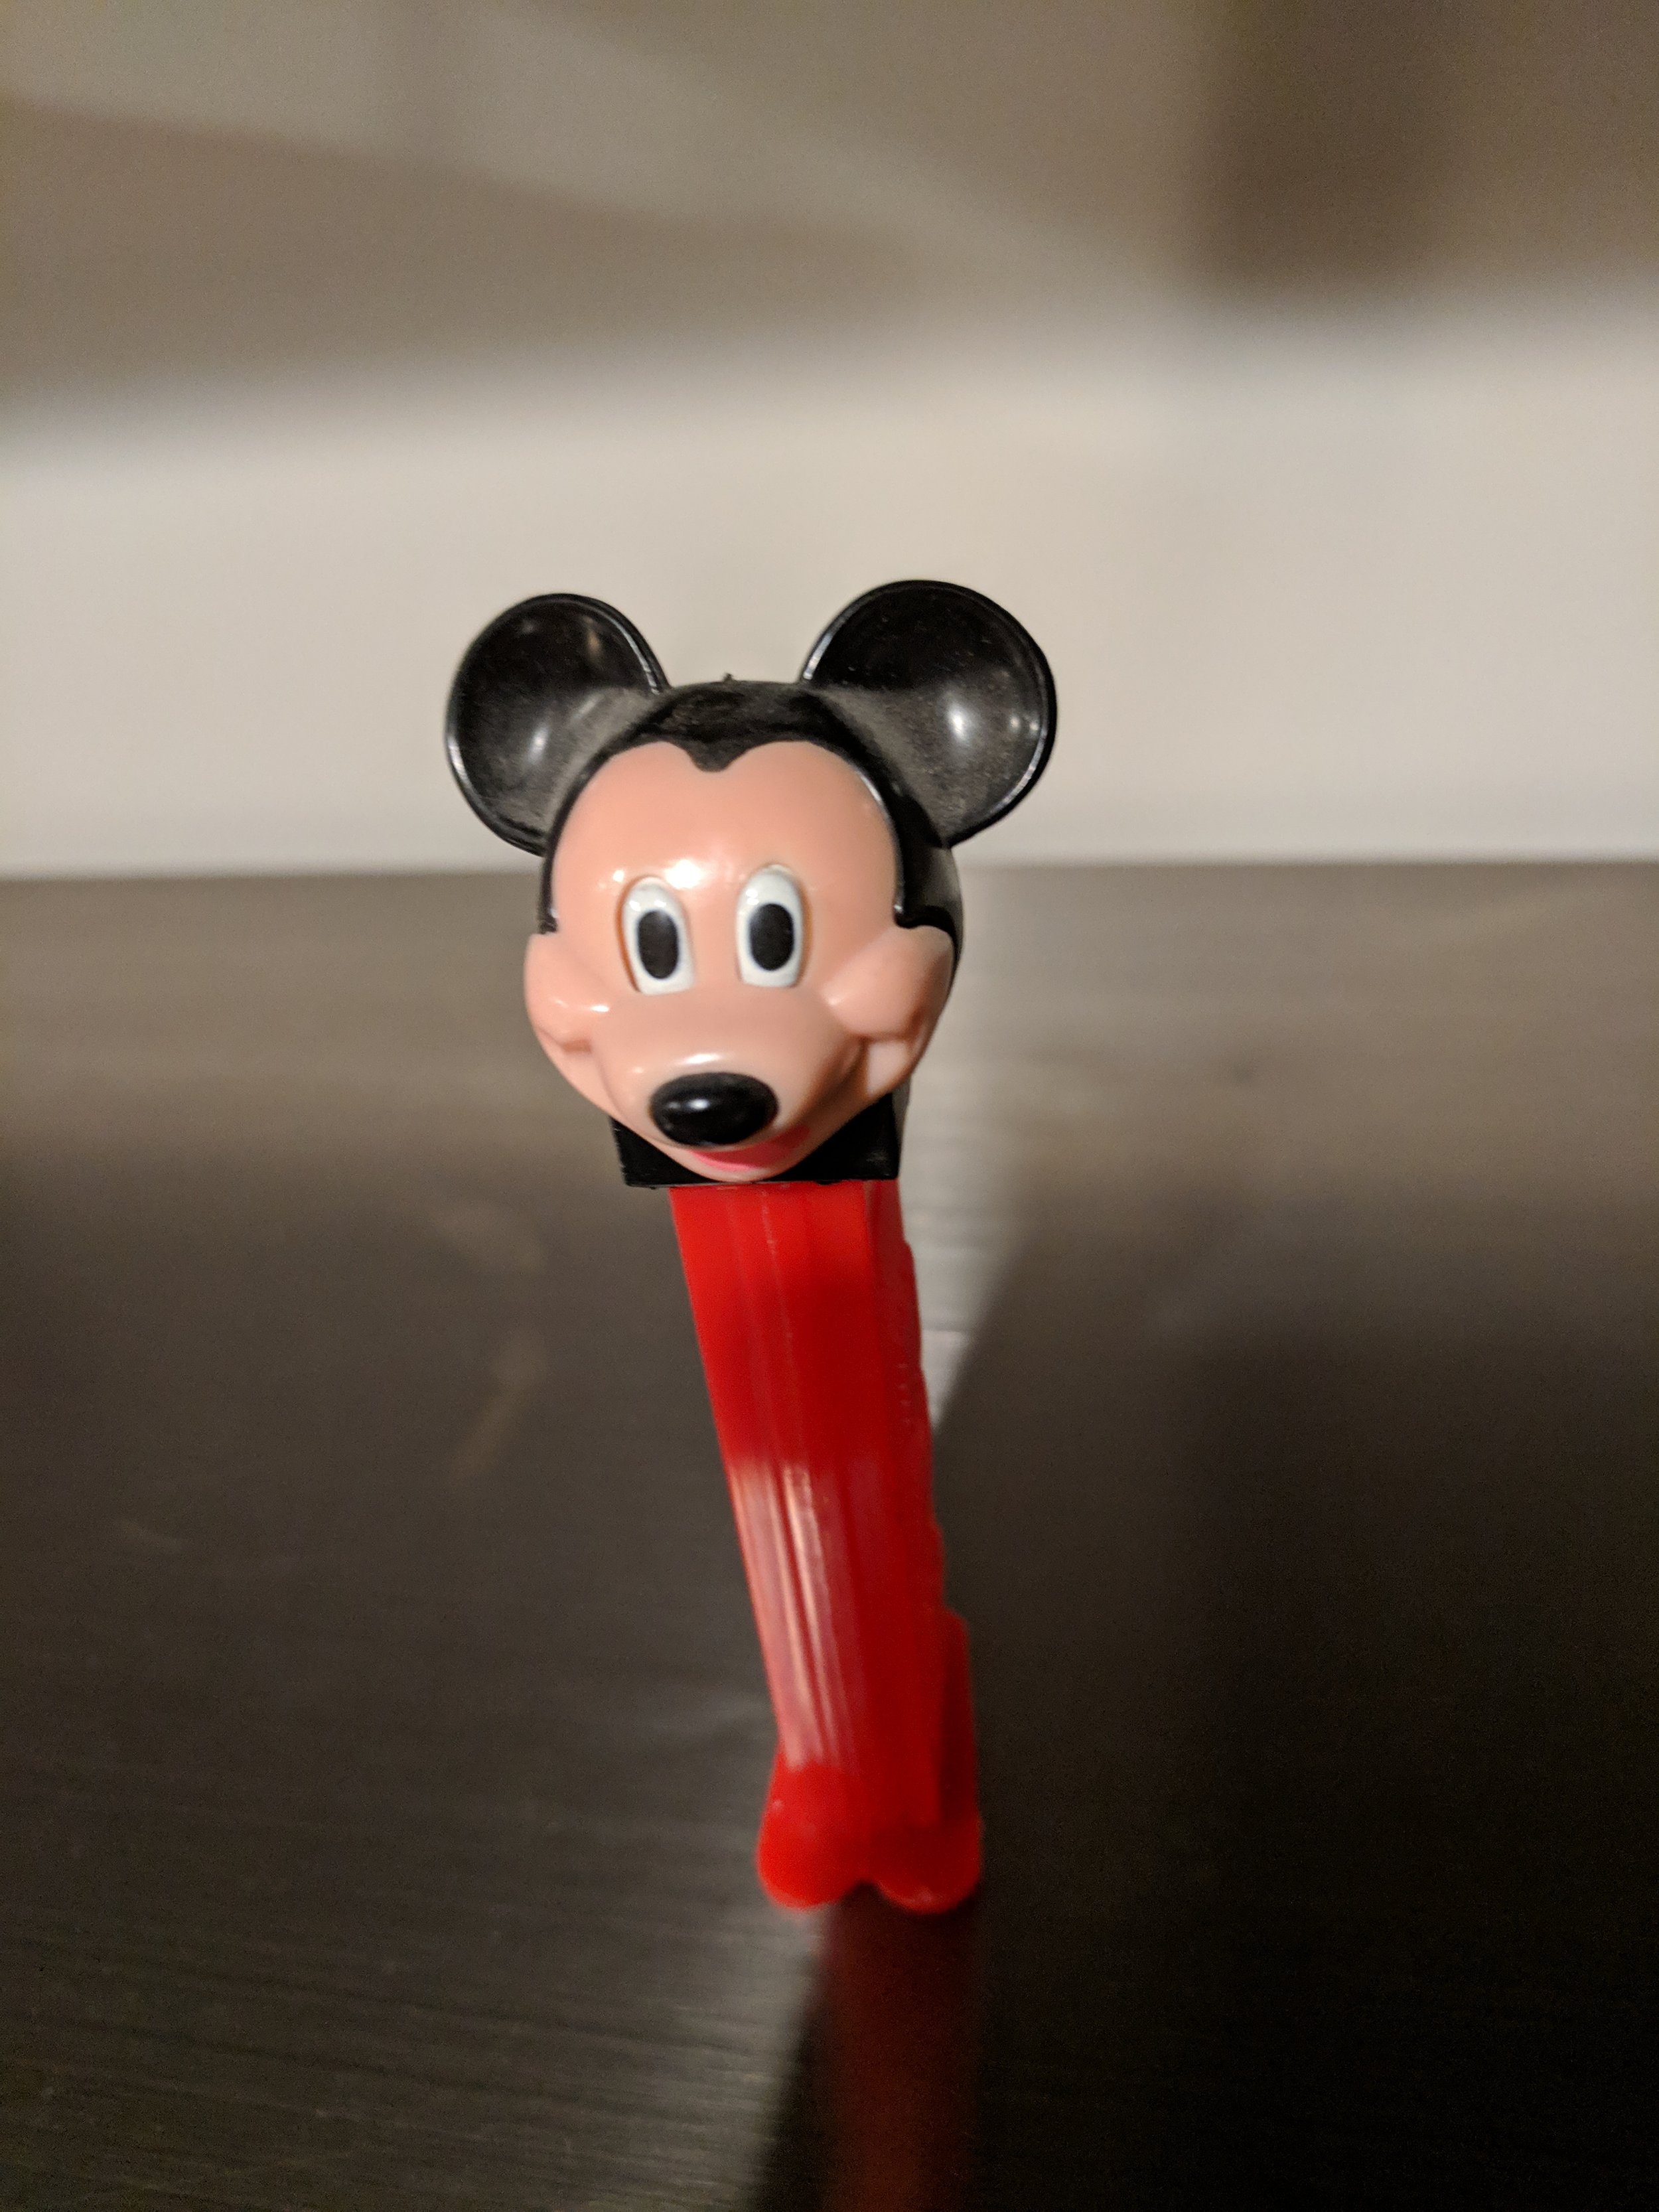
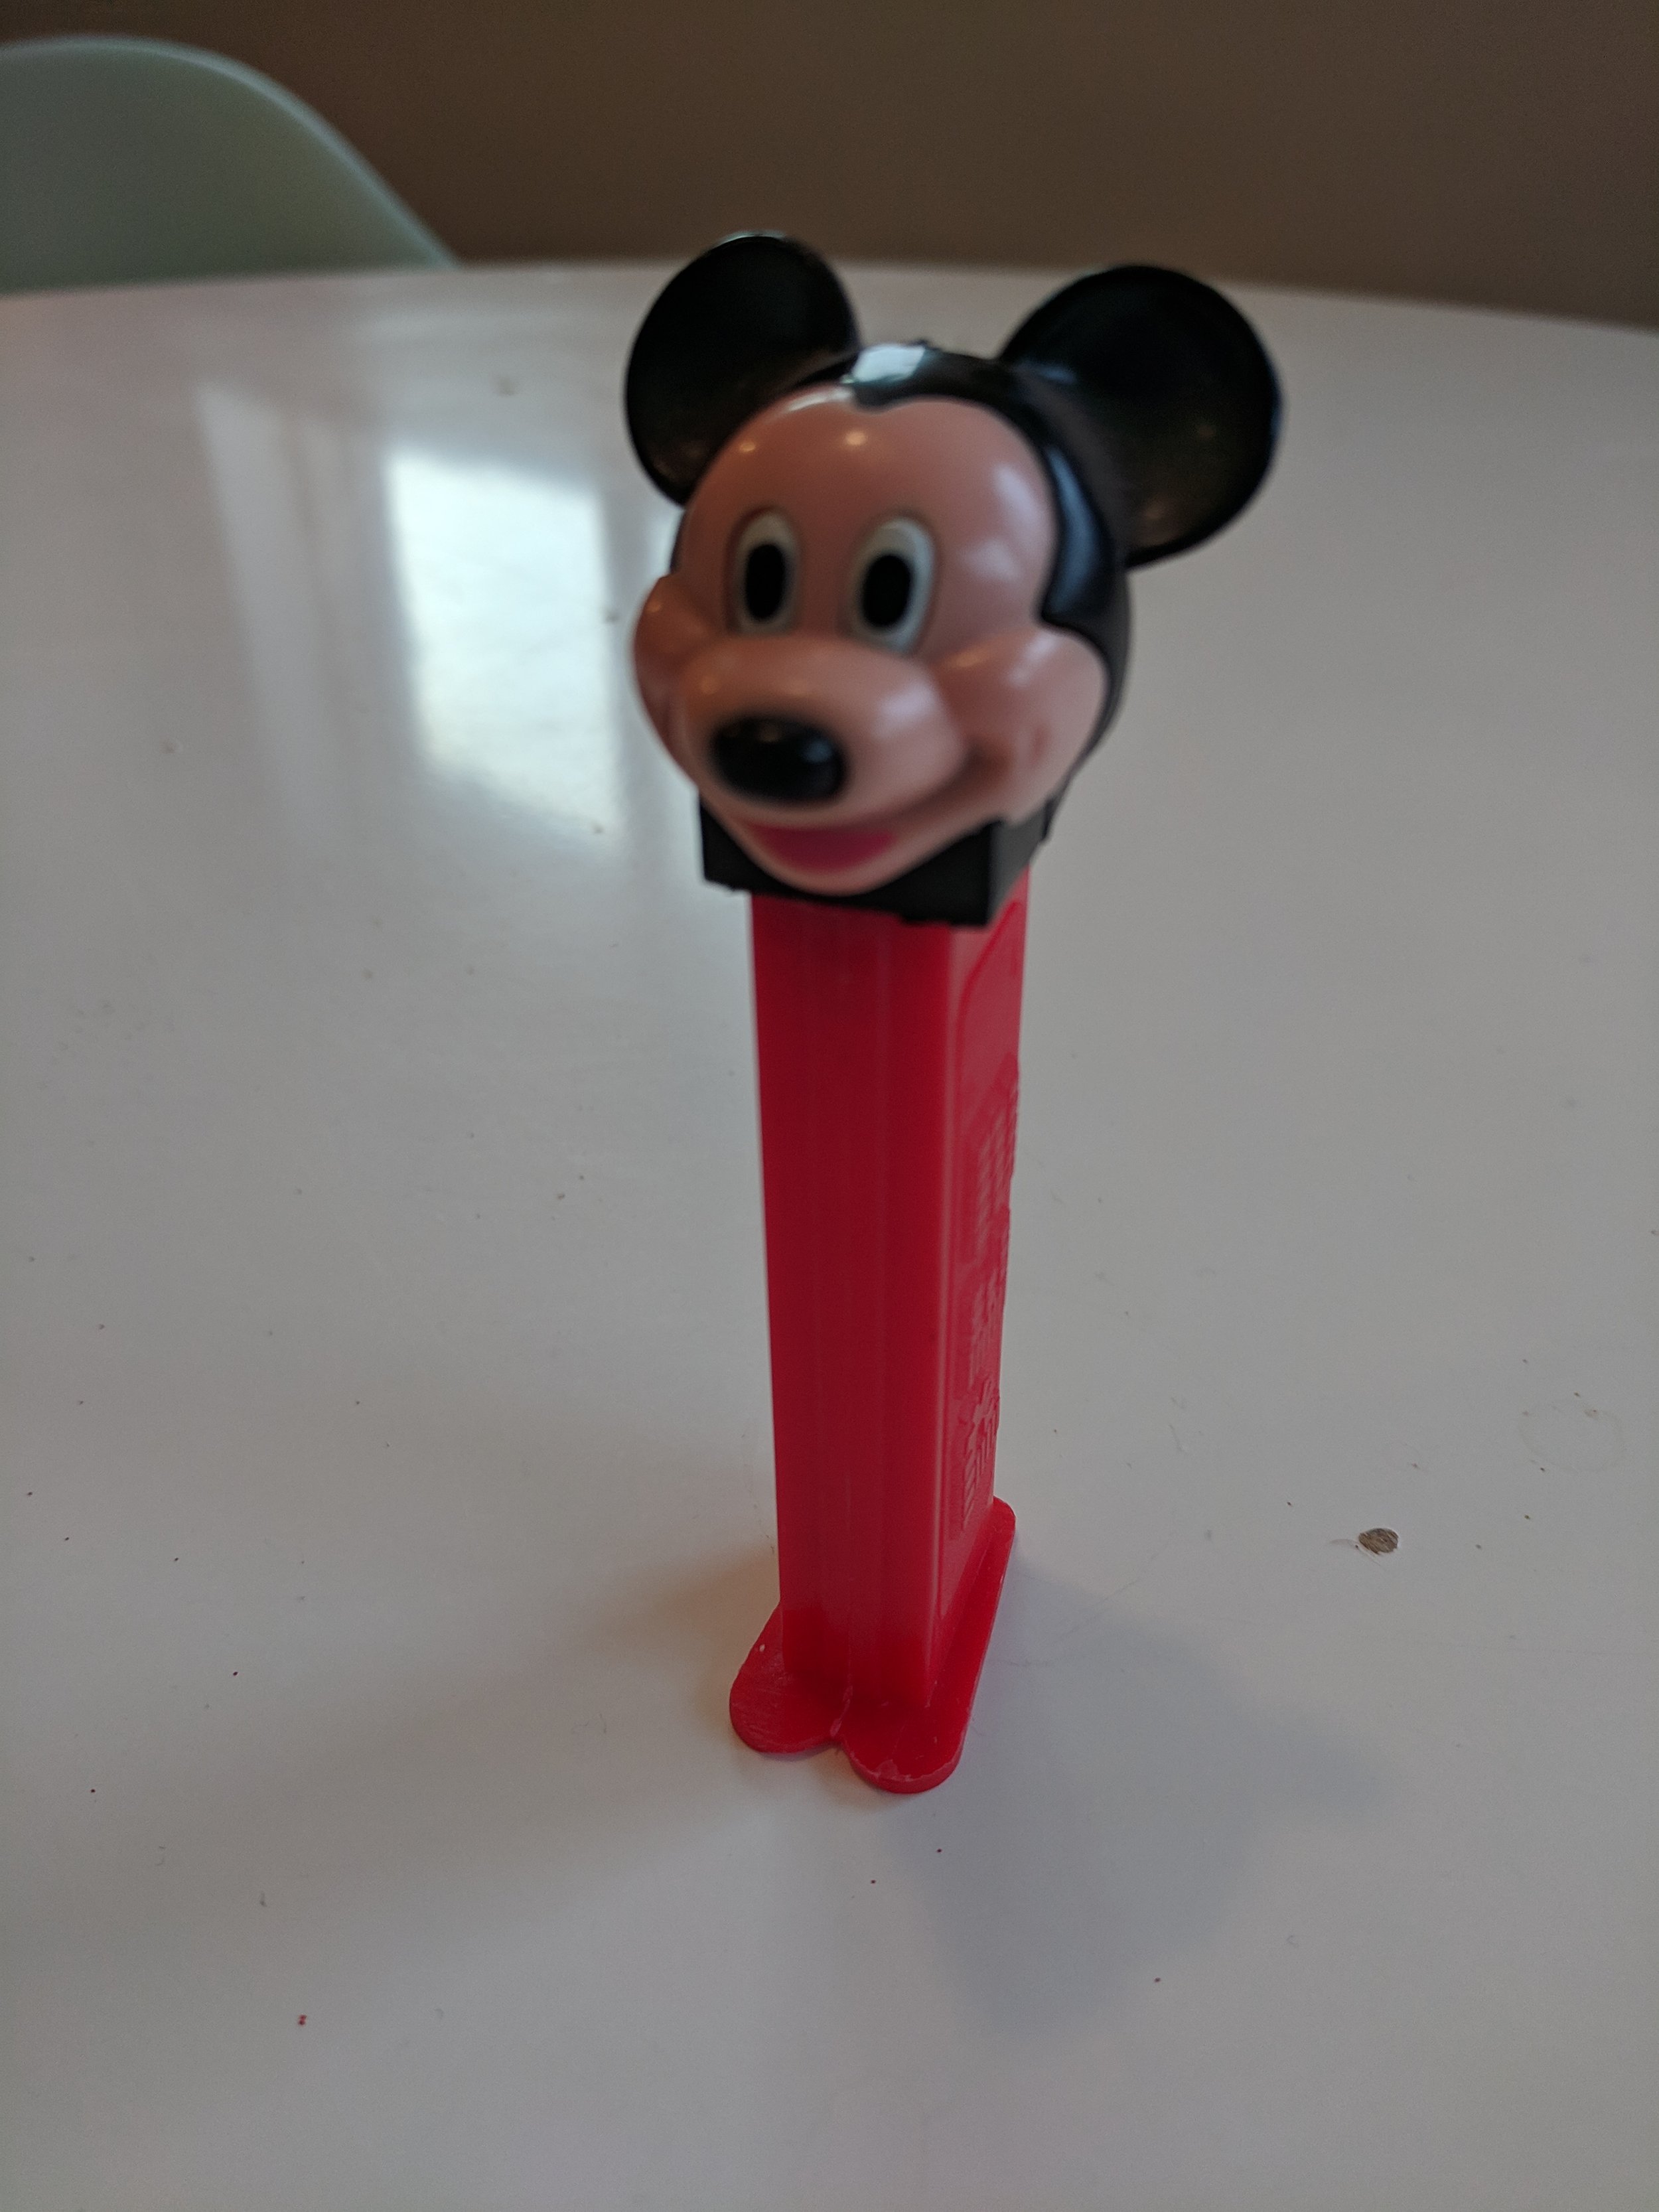
To illustrate the problem, these Mickey Mouse dispensers look similar, but are worth drastically different amounts (from left-to-right).
Mickey Die-Cut (1961) - $125
Mickey B (1989) - $15
Mickey C (1997) - $1
It is fairly easy for even an untrained human to tell the difference between these dispensers. There are obvious differences between the shape of the face, and the eyes.
Could a Computer Tell the Difference?
I decided to see if I could train a custom image classification model to distinguish between PEZ dispensers. That model, in theory, could be embedded into a mobile app or a website, giving PEZ enthusiasts a tool to aid in identification.
For this project, I embraced technologies from Google: Vertex AI to manage my image dataset and train the model, and MediaPipe for easy integration onto edge devices like smartphones.
Step 1: Picture This - Building the Dataset
Like any good AI project, I needed data. My original plan was to scrape images from the web, but there simply weren't enough consistent, high-quality pictures for the level of detail I wanted. The best solution? Become a PEZ photographer!
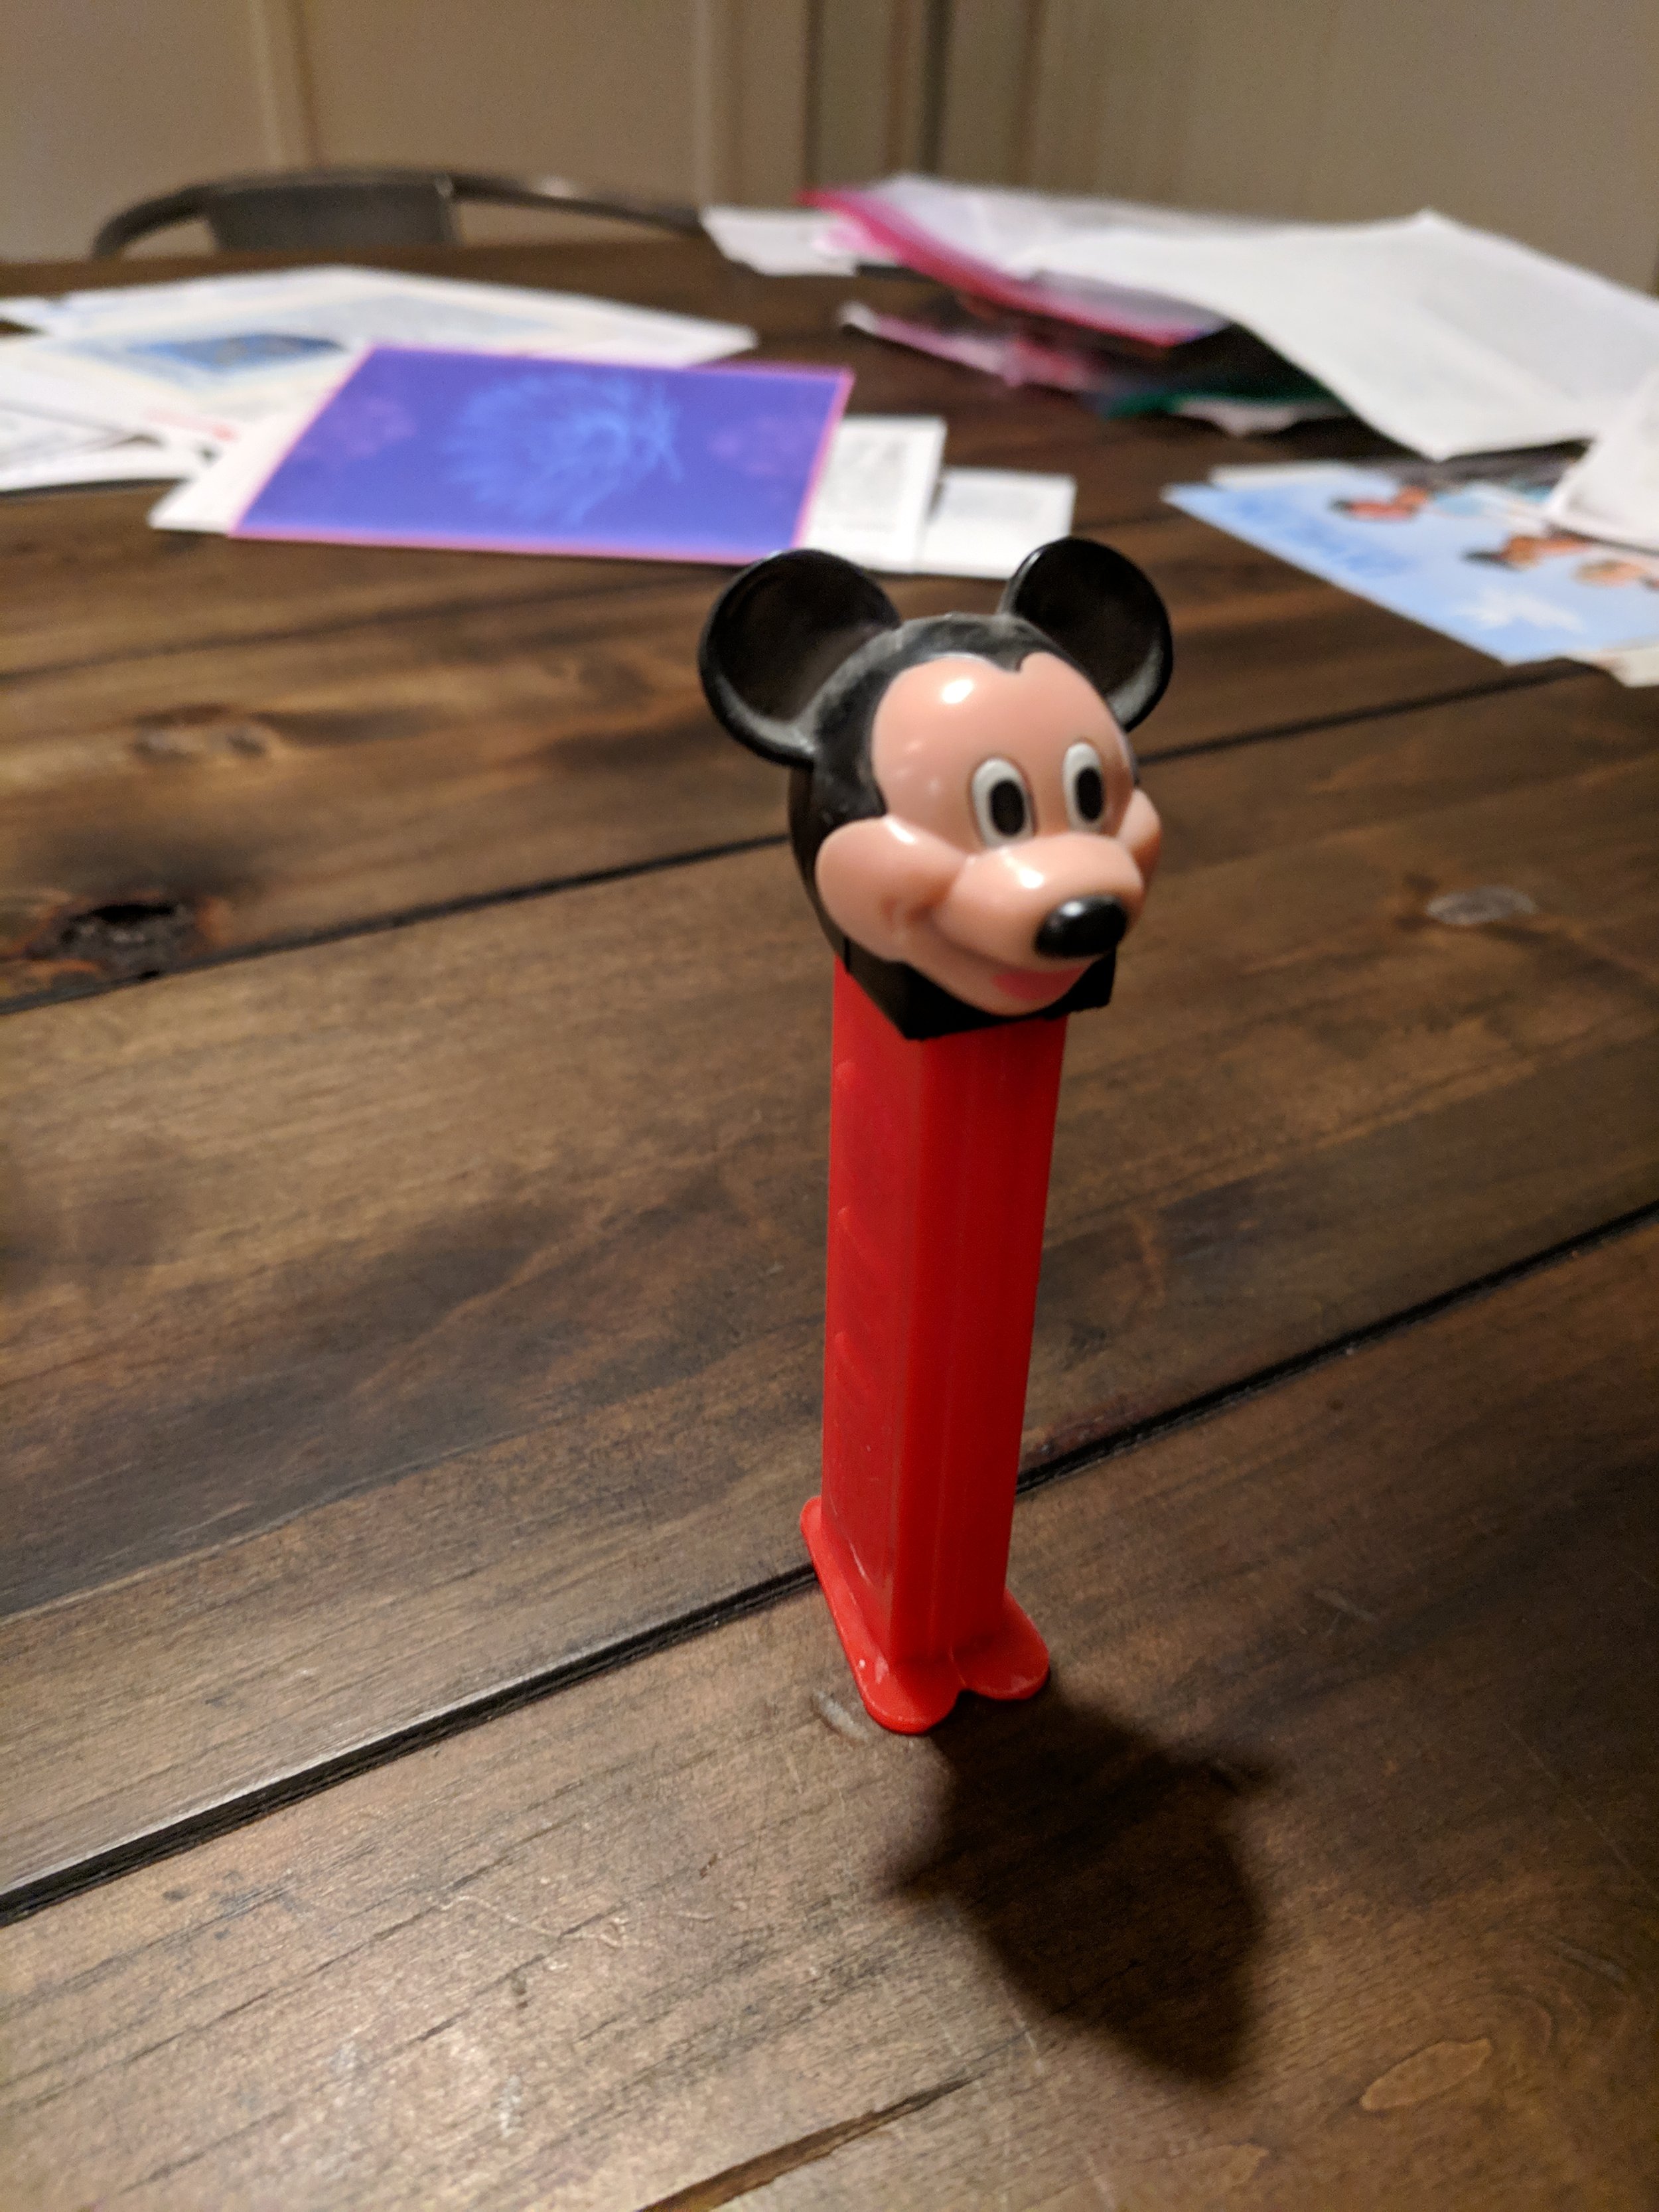
I gathered a dozen dispensers from my collection and meticulously photographed each dispenser from multiple angles, against different backgrounds, and in varied lighting. This variability helps the AI model generalize better and make it more robust in real-world use. I took at least 20 different images of each item (the data) and separated them into folders with accurate names (the labels).
Step 2: Teaching the Machine - Training with Vertex AI
With my photo dataset ready, I turned to Vertex AI. The AutoML Vision API made it surprisingly simple. I uploaded my images (carefully organized into folders by dispenser name), selected the option for "edge" deployment (since my goal was a mobile app), and let it do its thing.
Note: Be aware that Vertex AI can be costly, especially as your dataset size grows or you retrain frequently.
I used the AutoML Vision API to inspect these images, and automatically extract meaningful features from them to build a high-performing image classification model.
To start using this feature, I opened the Google Cloud console, then from the main menu selected: VertexAI -> Training (under Model Development) -> Train New Model and I was presented the “Train new model” dialog. I pointed this tool to my Cloud bucket, and I made sure to select the “edge” option, which is necessary, since this model will be deployed to an Android device. I didn’t modify any of the existing defaults, which are used to enhance the accuracy of the model, by using AutoML Vision's hyperparameter tuning capabilities. I was already happy with the performance of the results I saw.
It was fairly expensive to generate the model. I had a very small dataset, with the minimum number of images in each folder, and cost over $20 to generate the model each time. This might seem like a minimal amount, but I think this could get very expensive if you had a larger dataset, or if you needed to frequently retrain a model.
Step 3: From Cloud to Phone - Deployment and Integration
Once the model was trained, Vertex AI provided a deployment interface. This allowed me to test the model on the fly before moving it towards my Android app. I used the Google Cloud console, and selected: selected: VertexAI -> Model Registry (under Deploy and Use) which showed me a list of all the models I have available to use:
Selecting one of the models will lead to another screen with options to evaluate your model, deploy and download it, do batch predictions or see other details. Select the second tab “Deploy & Test”, and then select “Deploy to Endpoint” to test your model.
Once this is complete, you will have a endpoint you can send images to as a smoke test for your model (via CURL or any other command you choose). This was a great way to test my model quickly, and see if the image classification worked as expected.
Note: Watch out for unexpected recurring deployment costs in Vertex AI. I learned this the hard way! Check the pricing before doing anything.
Step 4: Integrating the Model into an Android Application
Downloading the model for Android required a slightly cryptic export process, but it ultimately landed me with a .tflite file – the format my app needed. On the same screen used to deploy the model to an endpoint, click the “EXPORT” button for “Edge TPU TF Lite”. This will export the file to a cloud storage location, where you can then download the file directly using the gsutil command they provide. It will look look similar to this:
model-3158426315623759872_tflite_2023-06-09T20_50_40.968622Z_model.tflite
Feel free to rename that file to something easier to use but make sure to keep the .tflite file extension (I changed the filename to: pezimages2.tflite).
The MediaPipe Library
Next stop was MediaPipe, Google's framework for cross-platform ML applications. Their examples, particularly one focused on image classification, became a lifesaver and was all I needed to test my model.
MediaPipe Github repo
Media Pipe Examples FTW!
MediaPipe has a great GitHub repo, with a ton of great examples for running AI use cases on a variety of different platforms. They include examples that can be run on Android, iOS, JavaScript, Python, and even RasberryPi. I was able to find an example for “Image Classification” which I downloaded and used as the base project for my Application.
There are a variety of AI use-cases addressed in these examples, and you can run a many different operations including different face and hand detection, image classification/segmentation, audio classification/detection, and even llm inference.
These examples are a great way to get started learning about AI operations on the edge, and to be able to get hands-on experience with many different use-cases on a variety of different platforms.
To run this example locally, I opened Android Studio (I was using the latest stable version - Iguana) and selected “File…Open” then selected the “Android” folder.
MediaPipe Example without any changes
Results when using the default “efficientnet-lite0.tflite” model
After cloning the example repo, I could run it without any changes, to see how accurately it could classify dispensers.
Using the default model, the classification was really bad. It had a hard time identifying the dispenser at all, and when it did work, the results were wrong, including: “lighter” (actually not bad), “punching bag” and “parking meter”.
Switching The Example To Custom Trained Model
In order to get image classification for Pez Dispensers working, I needed to import the custom model I downloaded from VertexAI, into the Android project. There were just a few steps involved:
Import the pezimages2.tflite file to the assets directory (the same directory the a effecientnet-lite0.tflite file was located).
Change the value of modelName in ImageClassifierHelper to reference the the custom model name (line 84 is now: val modelName = "pezimages2.tflite").
Small visual changes to make the app look different from the default (optional).
Now that I made these simple changes, I could test my custom model.
MediaPipe Example Using the Custom Model
Results when using the “pezimages2.tflite” model
After switching to use custom model the results were really great. The classifier successfully identified the dispensers, and could even tell the difference between “MickeyB” and “MickeyC” (an important use-case for this project). I was impressed with how quickly the classification worked, and the very high level of certainty it reported.
Step 5: Next Steps
This proof-of-concept has sparked my curiosity. I want to try this with other edge platforms like iOS or Raspberry Pi and explore alternative libraries beyond MediaPipe.
An alternative to MediaPipe is the Anaconda project, which looks very promising.
I will need to add more PEZ dispensers to my model, and I would like to use AutoTrain from Hugging Face for this, so I can compare ease of use, and cost.
Conclusion
Custom image classification has a wide range of uses, from the whimsical (PEZ!) to far more serious applications. Vertex AI and MediaPipe streamlined the process, letting me focus on the core AI concepts and implementation. The journey has been both enjoyable and enlightening!

